After spending a lovely afternoon talking to Adam Chandler, at Beta 5 Chocolates, last week, and thinking again how much their chocolates, topped with in house crafted transfer sheets, look like beautiful mosaic tiles, I am ready to have another go at making my own transfer sheets.
And because I want something safe and sturdy to enrobe, I am going to make homemade malt balls (turned into cubes) as the centres. That would be Maltesers to those of us from Canada and many other countries, Whoppers to those who hail from the USA.
The malt balls were another Beta 5 inspired confection, as the family managed to get through the ones I brought home from their shoppe (made to look like pieces of gold, for a St. Patrick’s Day theme) in about 2 hours.
Doing a bit of research into Maltesers, I was fascinated to discover how malted milk powder was invented. According to Wikipedia:
‘London pharmacist James Horlick developed ideas for an improved, wheat and malt-based nutritional supplement for infants. Despairing of his opportunities in England, James joined his brother William, who had gone to Racine, Wisconsin, to work at a relative’s quarry. In 1873, James and William formed J & W Horlicks to manufacture their brand of infant food in the nearby Chicago. Ten years later, they earned a patentfor a new formula enhanced with dried milk. The company originally marketed its new product as “Diastoid”, but trademarked the name “malted milk” in 1887.’
(also see this very interesting article)
So, what started out as a nutritional supplement for infants, found its way to being the main ingredient in chocolate malts and crunchy chocolate covered candies.
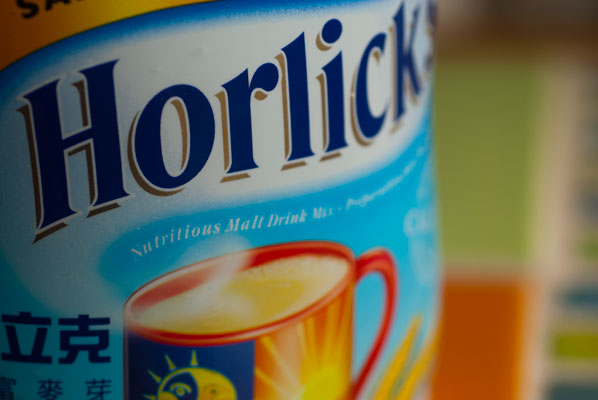
Although I cannot replicate the honeycombed, air-filled pockets inside a commercial Malteser, there is a simple recipe of equal parts good white chocolate, melted and Horlick’s malted milk powder (yes, that lovely stuff drunk by so many people in Agatha Christie mysteries, just before their demise!).
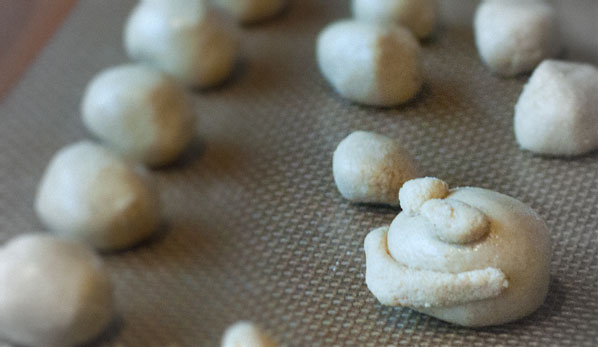
I enlist the boys’ help to make up the mixture. After careful weighing of the chocolate – then adding more, because the helper weighing the chocolate is also the white chocolate lover in the family who felt the need to sneak a couple of pieces – and measuring of the Horlick’s, we make a satisfyingly stiff paste, and set to work rolling it into balls, cubes, snowmen and complete heads with facial features.
I do point out that pretty much all definition will be lost when these are enrobed, but the boys don’t care. It is boring to make everything the same shape, after all.
I am surprised at how quickly the Malteser mixture sets up, firm and quite dry.
I set to, melting cocoa butter for the transfer sheets.
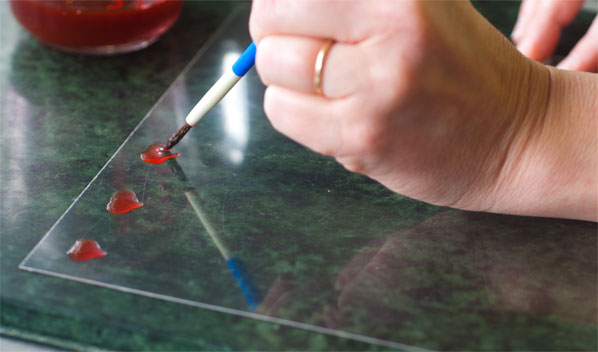
I have three bottles of oil based food colouring, which I learned from the wise Pam at Ecole Chocolat, blends much better with the cocoa butter, than the powdered. “Oil with oil” she says, which makes sense to me. A good squish of red makes a deep, satisfying colour and I know I have hit the correct tone when my son says, “Hey, that looks like blood!”
I get out the acetate sheets and a various “only for working with chocolate” paintbrushes, and start to experiment.
Last time I did this, I ended up with sheets of what looked like paint primer, so I am trying to be more light-handed this time.
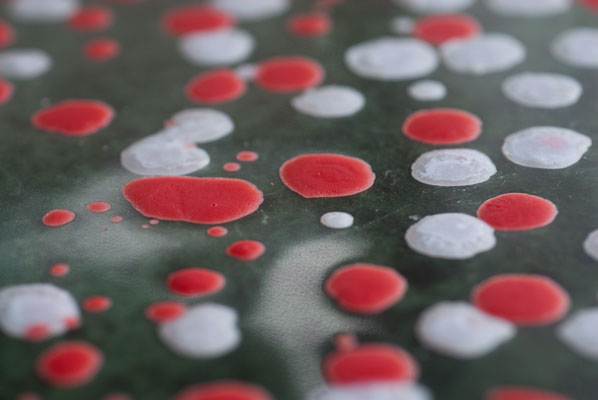
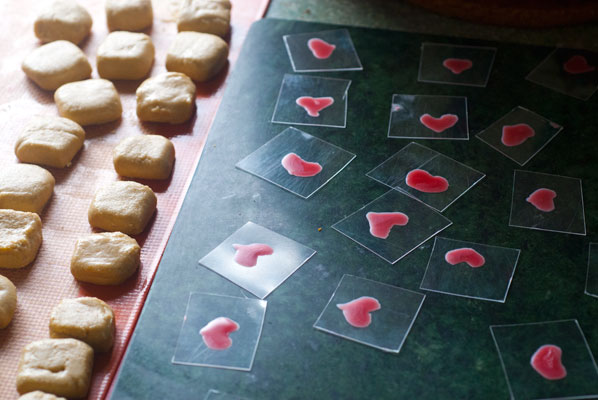
I do one with long zig-zag lines, one of hearts, and two with polka-dots in two tones. The cocoa butter sets very quickly, as it is in such small amounts, and I find the most challenging thing is to finish the design I want, before it dries. I guess the one good thing is, the acetate sheet can always be rinsed clean and the design begun again, if necessary.
The sheet of hearts definitely takes the longest time, as each one has to be painted on with a fine brush, but, after a few wonky lop-sided ones, I get into a kind of rhythm, and before long, have a sheet reddish hearts, which I will cut into individual squares, to top each bon bon.
As I get out my “Cheatar” (my toy for scraping the excess chocolate from the bottoms of freshly enrobed chocolates) and dipping forks, I am once again grateful for the opportunity I had to work for a day, a few weeks ago, at Cocoa Nymph, practicing enrobing truffles.
I am now very conscious of setting myself up correctly, so that everything flows, with a minimum of distance from the liquid chocolate to where the bon bon “lands”, on the Silpat mat. Even so, and even working with a fairly sturdy centre, I have the occasional one flip over, or slip off the fork, but my confidence is much greater now, and I have noticed I am getting quite a bit faster. This is a very good thing, as I have a terrific fear of the chocolate slipping out of temper, if I take too long to work through the batch of centres.
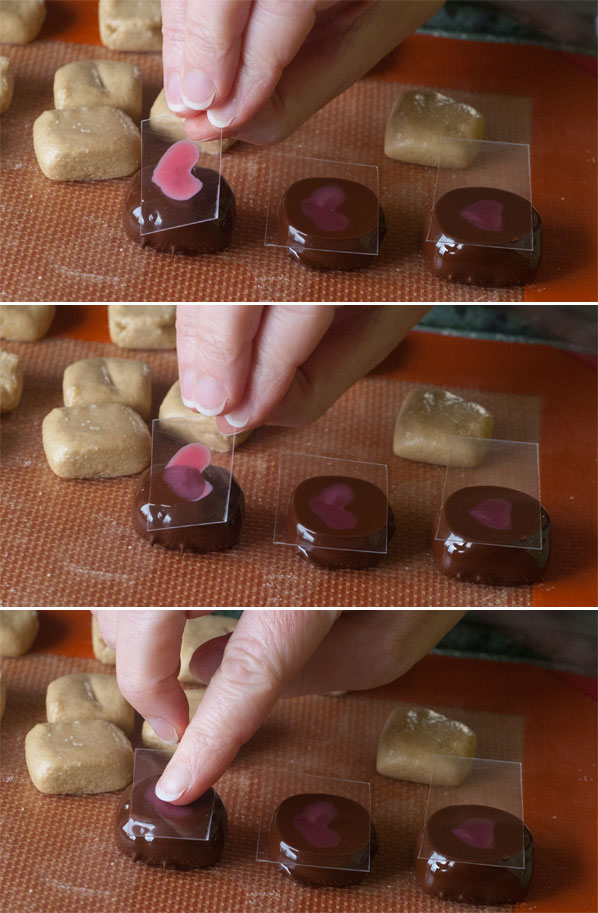
I wish (not for the first time) for another pair of hands, as the most challenging, fiddly part of this, is proving to be getting the actual individual acetate sheet on top of the bon bon. Several of them flip over, with their cocoa butter side down, and are consequently spoiled. A couple are sacrificed as I am cutting them apart (this acetate is definitely stiffer and harder to cut than the commercial sheets).
But, with the generous help of my partner, placing the transfer sheets, we manage to produce a couple of dozen palette-shaped malt bon bons, with red cocoa butter hearts embedded into their surfaces.
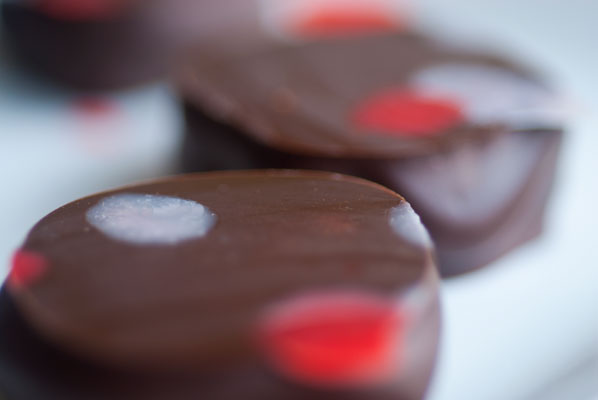
They look quite pretty. I get a bit giddy, decide not to cut the polka dot sheets, and just go ahead and put the whole sheet atop a few dozen more. This produces an interesting result, when dry, and I take the transfer sheet off, as the coca butter dots extend off the sides of the bon bon.
I argue that is looks very artistic and asymmetrical. Sort of 1960s, retro, pop art. I kinda like it! Granted, these would be a challenge to transport anywhere, but this is a moot point. The malt squares prove to be delicious, and the whole batch disappears over the next couple of days.
I will definitely keep working on creating homemade transfer sheets, now that I feel more comfortable with the cocoa butter, and have realized that a little actually goes a long way. I can’t wait to have a go with the other colours, and to try out even smaller paintbrushes, for more detailed designs.
Hmm, perhaps I’ll try a cat’s face, next.
And of course, the great thing about painting with cocoa butter on chocolate – even the mistakes taste delicious.
