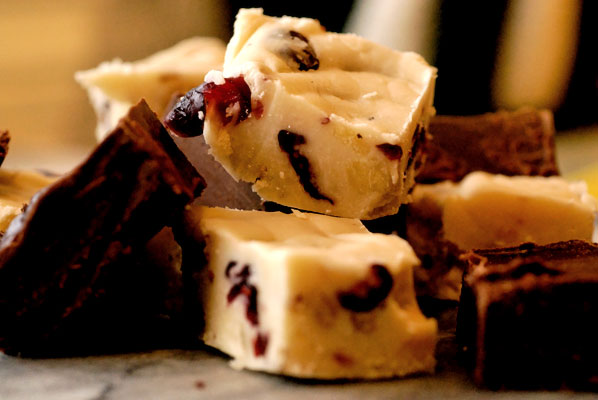
 This week, my Ecole Chocolat homework assignment is another in the series of my exploration of the textures and techniques of making centres, to help me (eventually!) create “signature piece” chocolates.
When I was a kid, I used to dream of the chocolate fudge the characters always seemed to have great fun whipping up, in old fashioned American children’s books, like “Betsy, Tacy and Tib” by Maud Hart Lovelace.
It seemed so glamorous and well, American, compared to the very pale, honey-coloured Scottish tablet my mother would make, in our kitchen. I have since then developed an appreciation for tablet, but those blocks of creamy, sink-your-teeth-into, dark, chocolaty-sweet goodness, on display in the olde fashioned candy shoppe in Birch Bay, over the border in Blaine, Washington, were equal in my mind to Oreo cookies and Idaho Spud chocolate bars – foreign and delicious.
For an excellent history of this wonderful sweet, have a look at Karen Hochman’s website.
I absolutely love the idea that, once again, a remarkable discovery was made when a recipe for something else failed – resulting in a whole new, creamy morsel.
Failure. Hmm, that brings back a memory:
“Nothing could be easier to make, and if you fail at this – you will never be able to cook anything – it’s called Never Fail Fudge, but I have no doubt, some of you will succeed in doing that. “
I still get shudders when I remember the threat in those words, and the glaring, beady eyes of our Grade Eight cooking teacher, who bore an eerie resemblance to Severus Snape, the bat-like Potions Master of Harry Potter fame.
I had always rather liked mucking about in the kitchen, and assumed Foods and Nutrition class would be a doddle but, also being a picky eater, it became one of my most feared classes, as we were forced to make truly horrible dishes, like Spanish Rice, then eat them.
So, the opportunity to make fudge seemed like a dream, until she told us we would not even be eating it, rather it was to be sold as a fund raiser for the school, so we were to “keep our germs to ourselves”. Talk about adding insult to injury.
I think our team managed to scrape through this “lab” unscathed, but it certainly took the fun out of that episode of candy making!
Which is why I am so delighted to revisit (not for the first time since then, I must say) fudge making, as a potential flavour and texture for chocolate centres.
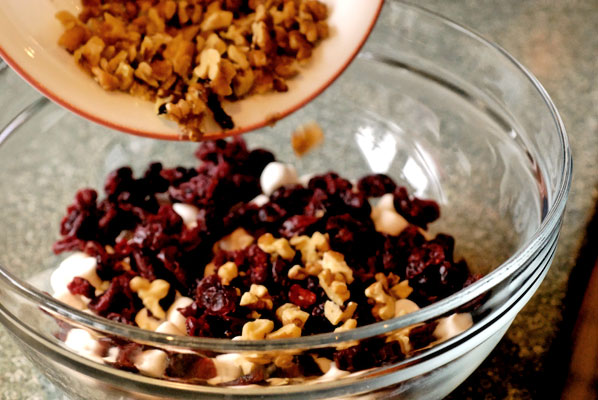
After my highly satisfying foray into crunchy textures last week, I decide to make white chocolate fudge, with the crunch of walnuts, and a satisfying (and squishy) tang of dried cranberries.
I search out a favourite recipe, hand-written on a card by a dear friend, after I demanded it from her, when she gave us some of this fudge in a Christmas gift basket. The recipe is a very sweet reminder of a wonderful person, who’s sense of humour I miss very much. And the recipe is satisfyingly simple.
Susan’s White Chocolate/Cranberry/Walnut Fudge
Ingredients:
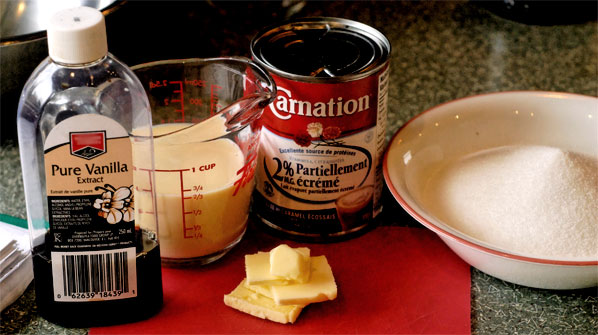
2 tablespoons unsalted butter
2/3 cup evaporated milk
1 1/3 cup sugar
1/2 teaspoon salt
2 cups mini marshmallows
1 teaspoon vanilla extract
1 1/2 cups grated white chocolate (I used Callebaut)
1 cup dried cranberries
1 cup chopped walnuts
* the zest of one orange can also be added, but I didn’t have any on the day, and it is yummy without itDirections:
Butter an 8-inch square pan.
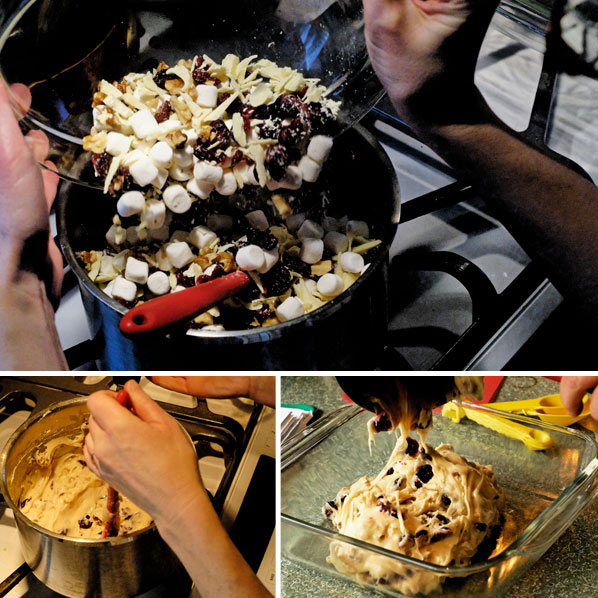
In a medium saucepan, combine butter, milk, sugar and salt. Bring to a boil over medium heat, then stir mixture for 5 minutes. Lower heat if mixture is boiling too hard.
Remove from heat. Stir in marshmallows, chocolate, cranberries, nuts, vanilla extract, (and orange zest, if using). Stir quickly until marshmallows melt and blend.
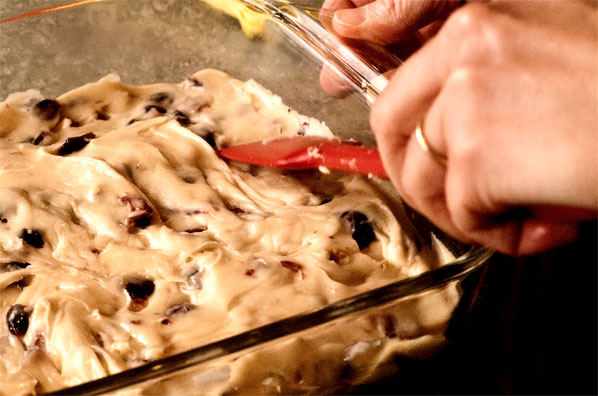
Pour into pan, cool, and cut into squares.
Well, that was easy. I want to try re-formatting this recipe, omitting the orange, adding lemon zest to it, to create a smooth, rich filling for enrobing in white (or perhaps dark) chocolate.
While the white chocolate fudge is setting, I feel a twinge of guilt at having taken a short cut – evaporated milk and marshmallows.
According to Karen Hochman:
If you want the best-tasting fudge, forget the sweetened condensed milk, corn syrup and marshmallow cream and go for the original ingredients.
As a proud Ecole Chocolat student, I rise to meet the challenge of this more challenging method, and return to fudge’s origin.
The “Original” Fudge Recipe
From Emelyn B. Hartridge of Vassar College:
- 2 cups granulated white sugar
- 1 cup cream
- 2 ounces unsweetened chocolate, chopped
- 1 tablespoon butter
Combine sugar and cream and cook over moderate heat. When this becomes very hot, add the chocolate. Stir constantly. Cook until mixture reaches soft-ball stage (234°-238°F). Remove from heat and add butter. Cool slightly, then mix until fudge starts to thicken. Transfer to a buttered tin. Cut into diamond-shaped pieces before fudge hardens completely.
Simple – unless you scorch the cream, overcook the mixture so it sets up in the pot instead of the pan, undercook it so it doesn’t set up at all, over stir it, at the wrong time, so that you end up with a grainy, unpleasant texture, or under stir it, and have the same thing happen, because large sugar crystals have formed!
Fortunately, I have learned a thing or two, about not blindly following recipes, and have looked up the chemistry involved in successfully making fudge. Thanks for this to the Science of Cooking website.
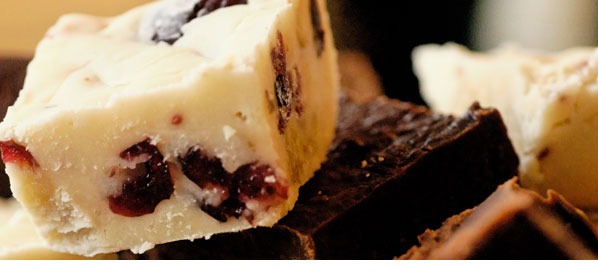
I was able to get this batch of simple chocolate fudge set, out of the pan, and decoratively stacked, to have its picture taken, with the white chocolate fudge – and then it disappeared – fast.
Apparently it is very good. I did not get a chance to taste it, but those who did assured me that it is. Perhaps I will leave that simple, original recipe as it is, and use it as a layer, accompanied by caramel … hmm.
I foresee a lot of time will need to be spent in the kitchen “lab”, in the coming weeks. Better build up my strength with another piece of Susan’s fudge.
