Although I have now been working with chocolate for three years (gosh, has it really been that long?) and have had the privilege to write this blog all that time, I am still very much an apprentice and feel I always will be.
So when my dear friend, Steph asked if I would make some chocolate thank you gifts for generous folks who have supported a wonderful organization we both work with (Vocal Eye Descriptive Arts), I became very nervous.
“I’m really not a professional, you know. Won’t they be disappointed?”
Steph rolls her eyes. She is used to this from me.
“It’s not as though they are going to complain. It’s a thank you gift. They’ll be thrilled, and they don’t even know I’m planning this. Just say yes or no.”
I would never say NO to Steph. She is an amazing person, a terrific mentor, skilled audio describer, keenly intelligent, works tirelessly for the organization, and never says NO to other people’s requests.
The least I can do is cough up some decent chocolates.
And once I have my head around the idea, I really start to have fun.
There are five people she wants to thank, and it would be nice to have a bit of selection for each person, so I have decided to make four batches, using a different “colour” of chocolate for each.
Four “colours” of chocolate?
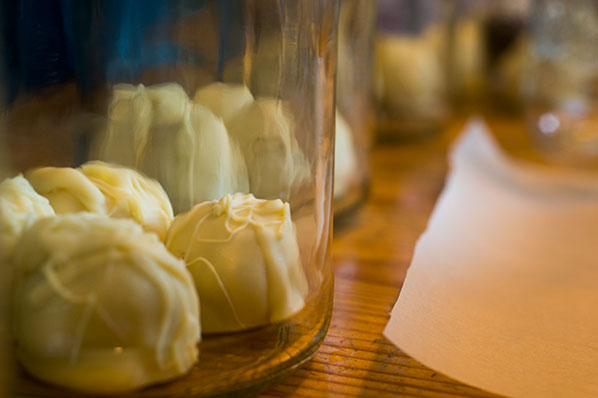
Well yes, because I will be using golden brown caramelized white chocolate – here’s how to make it.
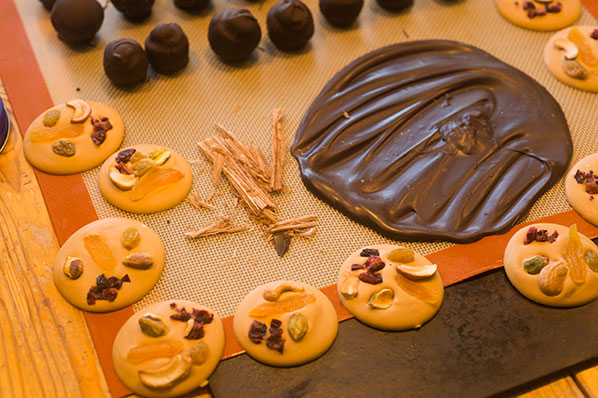
I will temper the chocolate to make Caramelized White Chocolate Mendiants.
Mendiants are a French confection and are popular as gifts ‘round about Christmas time. They were traditionally studded with nuts and dried fruits chosen to represent the robe colors of the four monastic orders, or mendicants, of the Catholic church: raisins for the Dominicans, hazelnuts for the Augustinians, figs for the Franciscans and almonds for the Carmelites. These folk lived on charitable offerings, earning them the name: “mendiants,” meaning “beggar”.
Feel free to use a combination of fruits, seeds and nuts to suit your own taste. Mendiants are so easy to make and really fun to decorate – as close to painting as I will ever get.
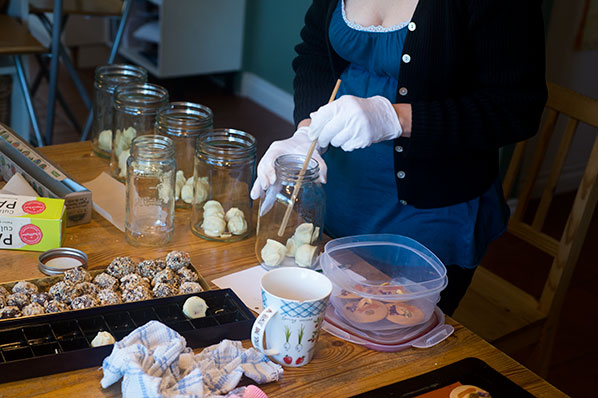
I have a Mason jar of caramelized white chocolate in my refrigerator, which I carefully heat on half power in my microwave oven until I can get it out of the jar and into a metal mixing bowl, which I place over a bain marie heating gently on my stove. The rest goes like this:
- Stir it until the mass has melted and reaches 45 degrees Celsius, on an instant read thermometer.
- Temper it, using the same method as for regular chocolate: tabliéred on a marble slab. Pour half of the chocolate out onto the slab, the other half stays in the bowl. Because the caramelized chocolate is so viscous, it seems to “pull” and feel sluggish almost right away.
- Spread, then gather it with a metal spatula on the slab. This does actually make it easier to gather up on the metal scraper and back into the bowl, stirred with the rest of the chocolate, to bring it into temper, at approximately 32 degrees Celsius.
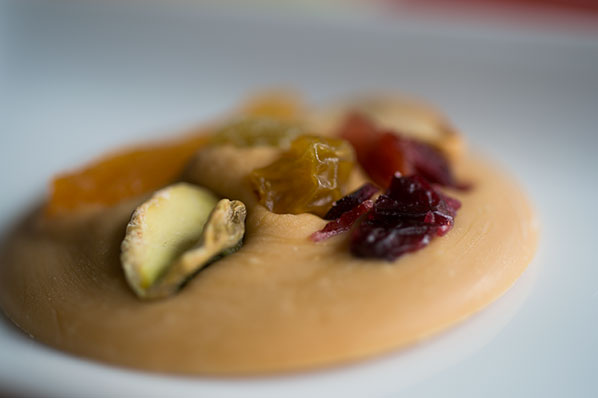
- Working quickly, pour a 2 inch round of tempered caramelized chocolate onto a Silpat mat, then quickly and carefully place your selection of fruits and nuts artfully on the round. I used a piece of toasted cashew, a golden raisin, a few pieces of chopped cranberry, a pistachio half (for the beautiful green colour), and a sliver of apricot, but it is your canvas, so use whatever pleases your eye and taste bud.
These set so quickly (when they are properly tempered), that it is advisable to pour only a few rounds at a time, then decorate them, to make sure they haven’t dried before you press the fruits in. This is an ideal project for two people – one pouring chocolate, one decorating. I kept the bowl of tempered chocolate sitting on a heating pad set to LOW between pours to keep it in temper.
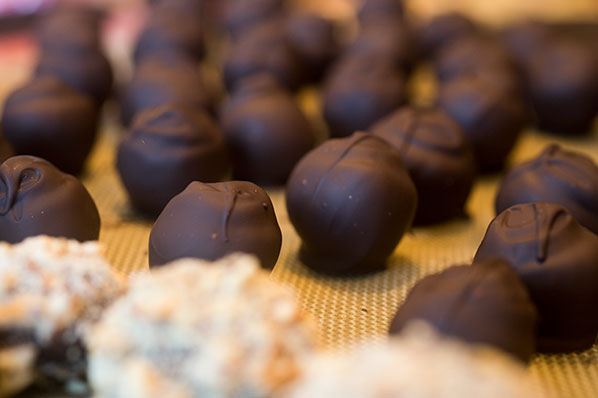
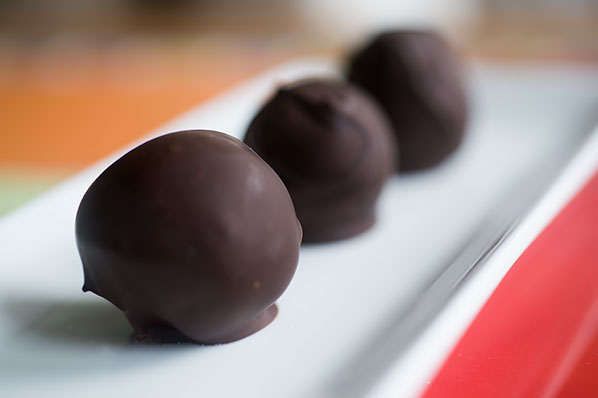
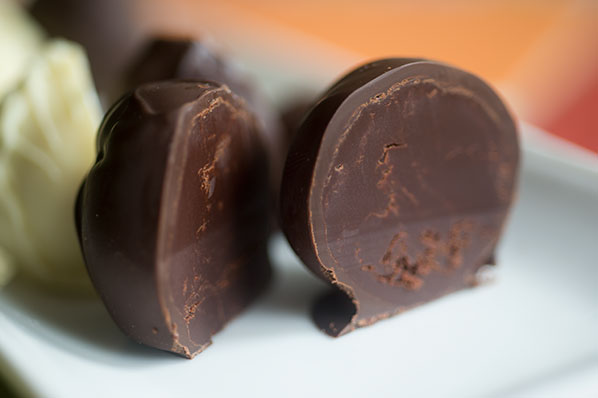
These will be accompanied by Dark Chocolate/Bourbon Vanilla Truffles, a simple but delicious truffle recipe I have been making since I learned how to make ganache, using:
- 8 ounces good quality dark chocolate
- ½ cup heavy whipping cream
- 1 Tablespoon Bourbon Vanilla12 ounces good quality dark chocolate, tempered to coat truffles
- Heat cream gently until a few bubbles form around edge.
- While cream is heating, roughly chop chocolate and place in a heatproof bowl.
- Heat chocolate in microwave oven at half power, until 70% melted
- In five additions, combining well between each addition, add hot cream to chocolate.
- Stir chocolate and cream together until chocolate is completely melted and mixture is smooth.
- Add vanilla and mix in, trying not to incorporate any air.
- Cover and refrigerate four hours or overnight.
- Remove truffle mixture from refrigerator and allow to come to room temperature.
- Using a teaspoon scoop, 1-inch balls of ganache and roll between palms until smooth, placing them spaced on a Silpat met or parchment paper. Return to refrigerator, while tempering chocolate for enrobing
- Temper 12 ounces good quality dark chocolate, and, taking truffle centre balls from refrigerator in groups of three (to keep them firm), dip centres, using a small scoop or fork.
Two delights round out my selection, courtesy of the École Chocolat recipes page:
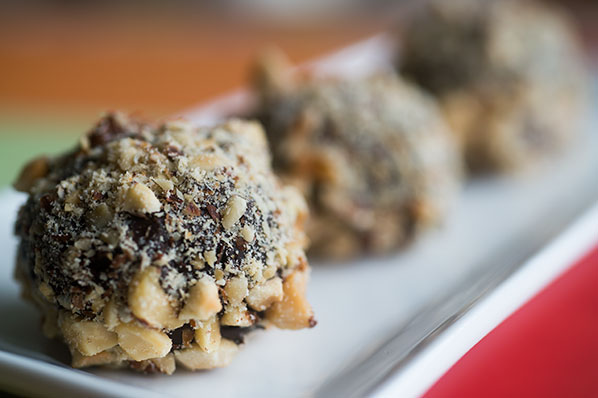
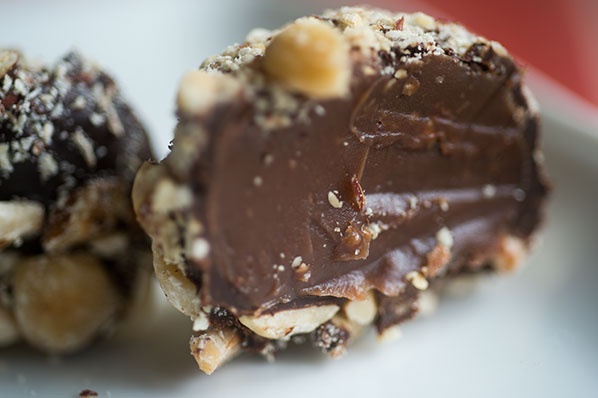
Fran Bigelow’s Boule d’Amande
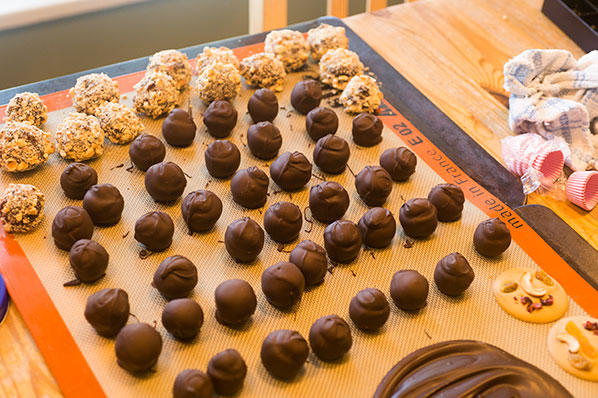
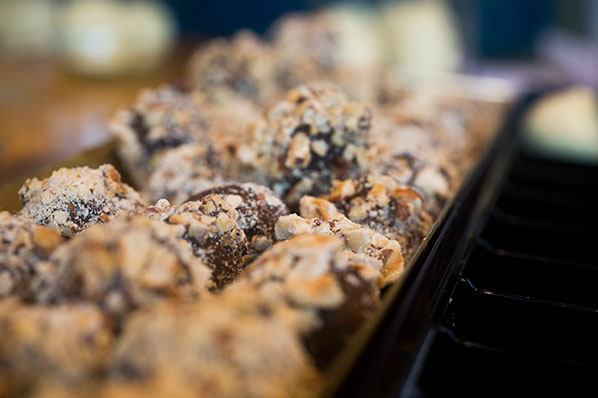
She describes them on the École Chocolat recipe page as: “elegant milk-chocolate spheres with a creamy milk-chocolate center, a crisp dark chocolate shell, a crunchy coating of toasted nuts.”
I substituted chopped toasted hazelnuts for the outside finish, and I have to agree with Fran Bigelow – these are delicious, and surprisingly easy to make. The extras disappeared very quickly from our kitchen.
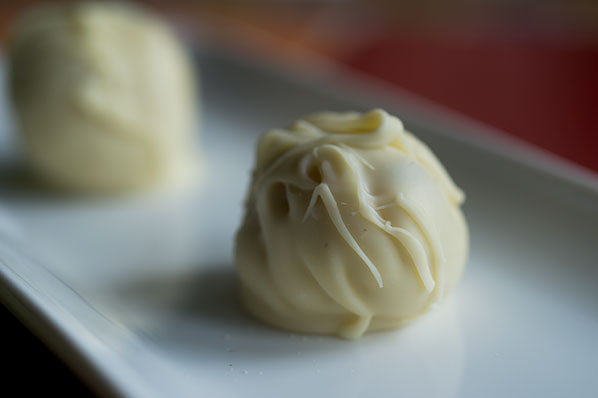
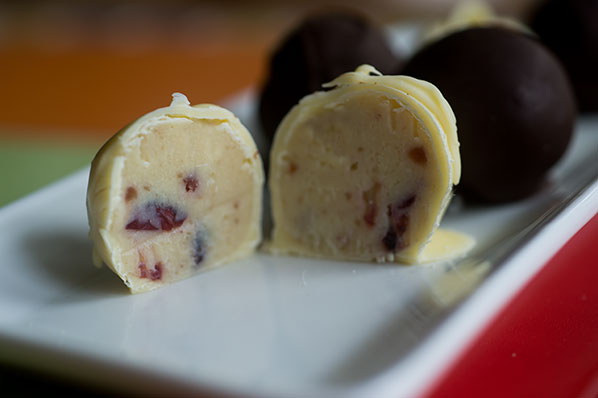
Dede Wilson’s Cranberry White Chocolate Truffles
The cranberries in these work as a nicely acidic balance against the sweetness of the white chocolate – this makes a huge batch and they look really pretty inside.
With my four batches set, I need to figure out a sturdy and attractive way to package them, as they have a long journey to five different destinations.
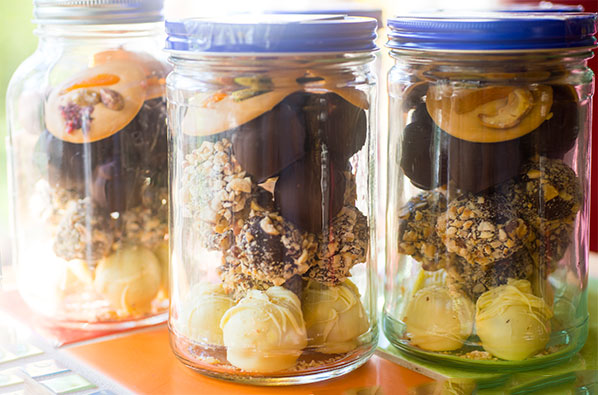
The colours actually complement each other really well, all sort of earth toned, and I am reminded of those jars of brownie mix I have seen at all of my kids’ school craft fairs – you know the ones – the different ingredients in a Mason jar, layered to look like sand.
Hmm. We eat lot of peanut butter in our house and I love the 1 kilogram glass jars Adam’s peanut butter comes in. I keep them to use in my pantry for nuts and fruits, but certainly have four I can spare. With the addition of a pretty Mason jar, I set to work, layering my creations into my “zero carbon footprint” bon bon containers.
I do a quick calculation, figure out how many of each truffle I can place in the jars for an appetising layer, co-ordinating the colours in what I think is an attractive pattern, finishing with the mendicants, so they will be the first thing the recipient sees when opening the jar … and because I don’t want my fruit and nut “canvasses” to be marred by anything sitting on top of them.
I stand back and am pleased.
These are thank you gifts – and it feels like I am the one who should say a huge thank you for the huge amount I have learned and for getting to play with chocolate for these three years.
