It is almost Hallowe’en, and the acting students have been asking if they can wear their costumes to our next rehearsal, which falls the day before. They always amaze me with their creativity and imagination. I remember one of them making an incredible full body, sandwich costume, complete with foam and fabric condiments oozing out the sides. It always makes for a fun, and surprisingly productive rehearsal, as it gives them another obstacle to work through, while blocking and learning lines. They are an advanced class, after all.
Last year, I brought in my first attempts at molded chocolates (solid dark pumpkins), and they were duly appreciative. This year, I think I need to up the ante, a little. The pumpkins will make a re-appearance (it is Hallowe’en, after all, and I do love the pumpkin mold) but this time they will be adorned with gold and will be filled with an orange infused/white chocolate ganache, tinted orange, with a few drops of food dye. I think this will look effective, when the dark chocolate pumpkins are bitten.
Wait a minute.
Back up.
Adorned with gold?
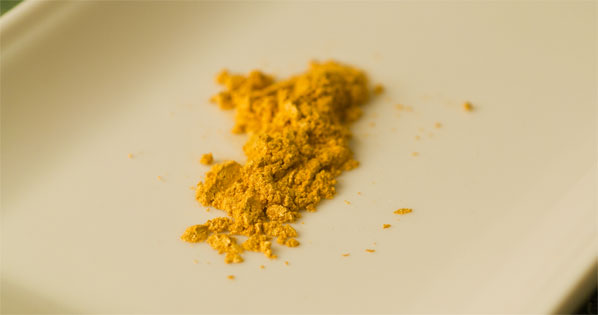
Indeed. I have a small container of gold Lustre Dust, which is, as it sounds, a fine, non-toxic powder, which, in small amounts, can be dusted atop chocolates and pastries for a luxurious, shimmery finish. Gold, silver and pearl being very popular, it comes in many different colours, from cantaloupe to coral, and I have also picked up a bottle of purple, like a jar of amethysts, because I can’t resist anything purple.
I can’t wait to try it out, but since the little bottles are very expensive, I want to make sure I am not trying to adorn a sow’s ear, in attempt to turn it into a silk purse.
I inspect the rigid polycarbonate mold for dust, debris, or any residual un-tempered chocolate in its crevices (yes, I have been known to have an Epic Fail when tempering!). I give it a good polish with a soft, lint free cloth, to make sure it is absolutely dry, and set it at the back of my range, with the metal bowl which will receive the tabliered chocolate, so they will warm ever so slightly, as I temper the chocolate.
I have actually, had quite a few Epic Fails (my sons’ term) tempering chocolate these past couple of weeks, and I think it may be because I have been relying too much on a none-too-trustworthy thermometer. I am going to try to trust my instincts and senses this time, instead.
I have returned to the Ecole Chocolat technique lessons and videos, once again, and have one of those AH HA moments. I notice that, in the videos, a much larger amount of chocolate is being tempered, so it is no wonder it takes a bit longer to tablier it. I am only doing a pound of chocolate, and vow that this time, I will concentrate on that moment when the chocolate starts to pull together, and then get it into the waiting, warmed bowl, right after that.
All goes well. I am by myself, and not distracted by anyone’s voice but my own – I do tend to talk to myself. I banish the wonky thermometer to the back, and look carefully for the moment when most of the chocolate has melted. I make sure to keep the bain marie under it, at a low heat, and turn the flame off whenever it approaches a simmer. I have towels everywhere, so that not one drop of moisture will have a chance of seizing my lovely mass.
At the moment it has all melted, I pour the chocolate onto the slab and get to work swirling. It takes very little time before I am sure I can feel the pull, and I slide my biggest, warmed bowl under the edge of the slab to catch the chocolate. I keep stirring, then dip a little finger in the chocolate, and smear it on my upper lip – it feels to be almost body heat. Okay, we’re good.
A moment of frustration as try to remember where I have put the mold! Then, in the chocolate goes, I bang it on the counter-top to remove air bubbles, and flip it over to let the excess drain out. I notice that the chocolate is adhering well to the sides of the mold and forming a good, solid coating. I scrape the excess from the top. It comes off cleanly and I am left with 24 hollow, drying pumpkins. Looks good. I am happy.
I set chocolate in my younger son’s room, as it is the coldest one in the house (poor thing), so off the pumpkins go to dry.
Now, for the part I always look forward to. I absolutely love making ganache. I have committed the Chef Frederic Bau (of Valrhona’s Ecole du Grand Chocolat) videos on ganache making (despite his annoying animated cocoa bean sidekick) to memory, along with the excellent technique lesson on the Ecole Chocolat website.
I fall into a meditative and comfortable “I know what I’m doing” rhythm. I zest 2 teaspoons of orange zest into ½ cup of gently warmed whipping cream, and set it aside to infuse as I chop up 8 ounces of good white chocolate, and heat it.
Muttering to myself “beacoup de friction, beacoup des additions!” I add the strained, infused, orange scented, warm cream to the chocolate in 5 or 6 additions, vigourously stirring after each one, resulting, after 15 minutes, in a beautiful smooth ganache.
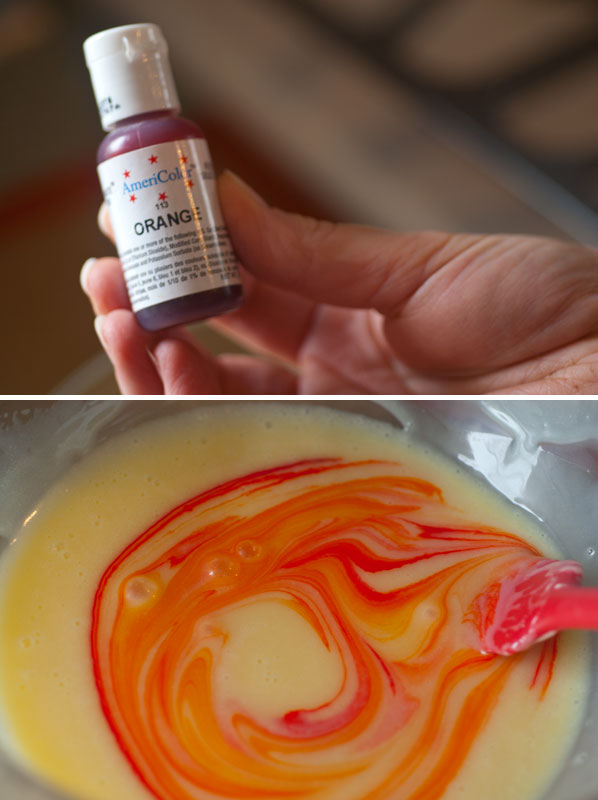
I use a few drops of paste food colouring, and realize that I have managed to get the filling to be the shade of my office walls. I have been trying to match this shade in paint for months, to patch some flaws, and am sorely tempted to smear the ganache on the walls upstairs!
I check on the pumpkins. They are ready for filling so, once the ganache has cooled, I pipe it into the shells, trying very hard not to overfill them, as is my tendency. The back coating of chocolate goes on, and they go back to my son’s room to set.
It is a couple of hours later.
I am holding my breath as I work. This stuff feels as precious as gold dust, and I don’t want to accidentally breathe any of it in. I shake the dust around in the container and it tumbles on itself like a prospector’s pan of gold flakes
I have checked out a couple of techniques for applying lustre dust, and actually ran down to our village liquor store to purchase a tiny bottle of vodka. One method for applying lustre dust involves making a “paint” of alcohol, or vanilla, lemon juice and lustre dust. By using an alcohol solution, it ensures that the moisture will evaporate after the luster dust has been applied. Mixing luster dust with water or other liquids can turn it sticky and dull.
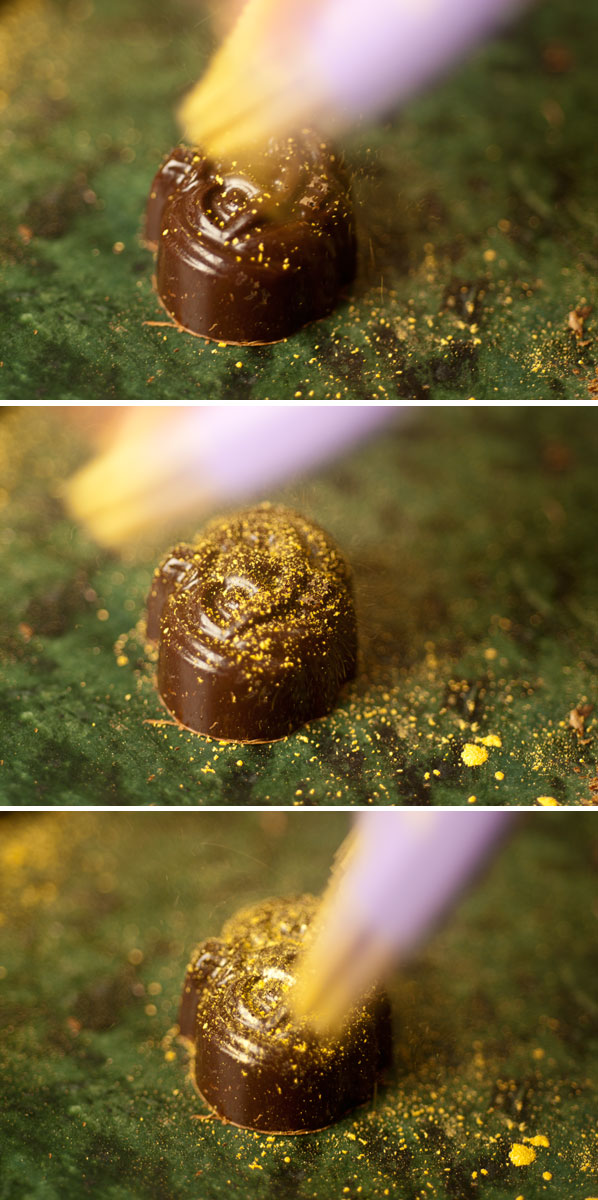
I try this method first, using a soft, natural bristle new paintbrush. I soon abandon this method, as the pumpkins are very small, and to me, the lustre dust looks like it has been painted on by a pre-schooler – a bit heavy handed. This is probably operator error, but I think I need a lighter hand, and a more delicate dusting, to enhance, rather than obscure the pumpkin’s features.
I abandon the vodka, and try the dry technique.
I find, after trying various paintbrushes and brush stroke techniques, that I can achieve a pretty effect by diagonally brushing the pumpkins, from top to bottom, in one stroke, with a very soft artist’s brush. I also find (completely by accident, as I was attempting to sweep up the excess lustre dust) that my silicone pastry brush, flicked over the pumpkins like snowfall, creates a subtle, spotted, glowing effect. I like it.
And I am sure my students will, as well.
One of my favorite actor friends loves giving out “magic acting candies” for Opening Nights. These little beauties, with their dusting of magical golden powder fit the bill perfectly for a night of celebration like Hallowe’en!
You’ll find a few more photos here, on Flickr.


