Get Close and Don’t Eat the Models: guest blogger this week: Robert O
Eileen suggested I blog this week to share some information about the photographs I take for The Chocolate Apprentice.
Let’s be honest.
Taking photos of chocolates can hardly be described as “a tough day at the office”.
That isn’t to say shooting chocolates isn’t hard.
It’s just that, given other jobs I encounter in my life as a father, husband, home owner and business consultant, it ranks pretty high on the sell my clothes I’m going to heaven scale.
I’m very proud of my work as a professional photographer (one of my many hats). But truth be told, I got this gig because I’m also the Chocolate Apprentice’s spouse. It’s also true that I do have a history with Ecole Chocolat.
When Pam Williams decided to create ChocoMap.com, she asked me take a series of photos for the site, as well as some for Ecole Chocolat. In fact, the photos at the top of the main page of the Chocolate Apprentice website came from some of those sessions.
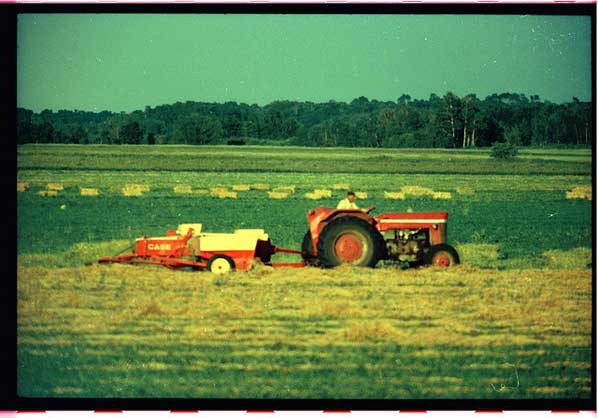
My first professional photography job was working in a darkroom at a small town photo studio. My employer made his living shooting family portraits and weddings in Dauphin, Manitoba. His name was Bill Green. He also sold me my first camera, a Canon F1 that was my constant companion. Bill showed me the basics of his in-store darkroom, then left me alone to muddle my way through. I didn’t work for him very long, but the experience in the darkroom completely changed, and deepened my love of photography.
A few years later I was living in Calgary where a couple of community college teachers had set-up a pay-by-the-hour darkroom facility called Photo Nut Haven.
I spent a lot of time there developing black and white film stock and experimenting with different papers and techniques.
It was a wonderful place – where absolute amateurs like me got to work side-by-side with industry professionals who also used the facility. I learned a lot just listening to the people around me.
Over the years, I’ve heard a lot of former Calgary photographers talk about the place in the same glowing tones. Those early darkroom experiences play a big role in my photography today, even though my workflow now is completely digital.
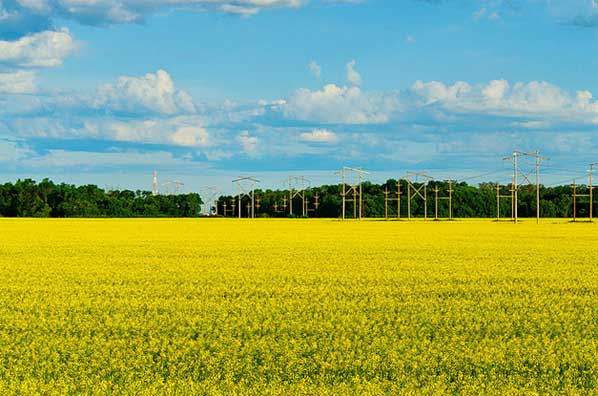
I’ve always considered my style of shooting as documentary photography.
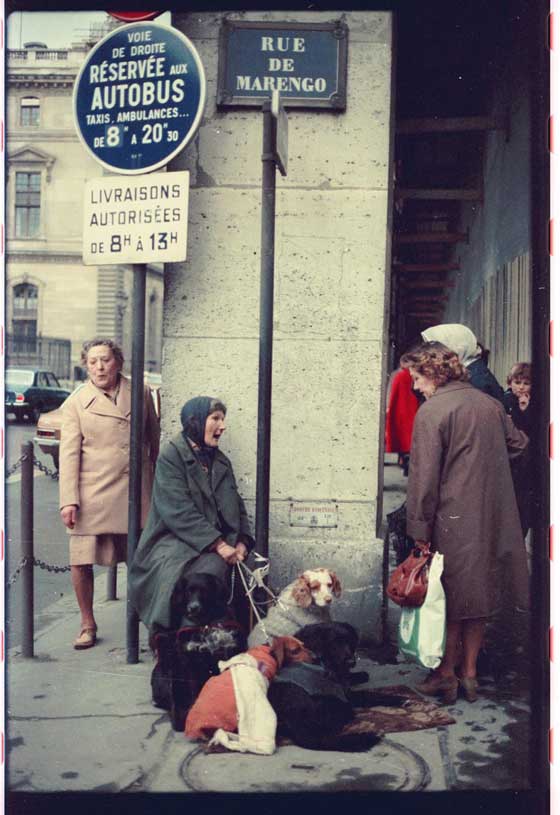
I typically don’t pose or stage shots – I like to capture what I see around me.
I envy photographers who can arrange a group of people in a way that looks natural or spontaneous. I think it takes a lot of skill and patience, and a great eye. I’ve never had that ability – I prefer to skulk around with my camera and grab frames where I can, from a variety of angles and vantage points. I’m inherently a shy person, so the camera also provides me with a shield of sorts, in those awkward social situations. I’ve heard this comment from a lot of photographers and other documentary makers.
On the face of it, my style of shooting (or lack thereof) really doesn’t lend itself to shooting chocolate. Getting a good photograph of a beautiful piece of chocolate requires a lot of set-up. But I’m also trying to capture Eileen’s experience as she goes through the professional chocolate making courses at Ecole Chocolat, and that does sit nicely with my documentary approach.
Here’s the thing about shooting food.
It never quite looks the same to the camera as it does when you look at it ‘in the flesh’ so to speak.
My personal theory about this is that when we see food, it triggers a lot of different senses at the same time. How we interpret what we see when we’re looking at, say, a hamburger, is actually a complex collection of sights, smells, even sounds. They are melded together into an overall experience = hamburger.
That same hamburger, when captured in a photograph, is just a split second version, it’s suspended in time. It’s just a glimpse, that 1/100th of second or shorter, when the shutter opens and closes.
When it comes to food, trying to capture what we saw, is much more complex than just shooting what we saw.
“
With chocolate, I try to focus on capturing a couple of key aspects.
Texture and colour are super important.
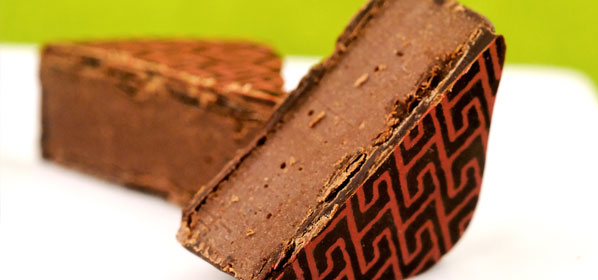
I’m amazed at all the variations in colour even in a single piece of chocolate. They’re delicate things, these little bon bons, and even a simple piece – say a bar – has a texture all its own. How the bar chocolate breaks when you snap it, and the textures revealed inside, all part of its personality.
That’s what I try to capture with the lens.
I think of it as that element of surprise. You can’t really tell from the outside just exactly what’s going on inside.
You’ll notice that I shoot the exterior, and then reveal the interiors, where additional textures and colours are hidden. If I can capture the textures and the colours, I feel like I’ve done pretty well.
With the Chocolate Apprentice, part of the fun (and challenge) is capturing the steps along the way. Some aren’t exactly flattering, like when something Eileen is working on fails. So, I try to capture the essence of that stage of the work – either by providing some context so you can see what Eileen has done, or even simply capturing the ingredients she’s used in a way that’s interesting to look at. And I should point out, we don’t do any of this in a studio. We shoot everything in our house, in our kitchen, in a real setting.
All that said, there are a few key aspects that I think probably apply to all food photography, not just chocolate.
1. It’s easier to shoot a perfect piece than make a piece look perfect.
Ideally I’d shoot chocolates the minute after they’ve been created . The poor dears don’t travel well, and even the tiniest mark shows up on their delicate surfaces. Look for the best looking pieces, and get a few to pick from. I like to have a half-dozen of each piece just to give me an opportunity to find the ones that look best from the outside, and the ones that look best from the inside (not always the same piece).
2. Work fast.
I set up my lights and my work table first, and do some test shots with whatever is at hand. That way, I can take my time getting set up before bringing in the delicate ‘models’. Then I place the chocolate and shoot quickly.
3. Get close.
I generally shoot the chocolates in tight with a macro (close-up) lens. I like to get close and personal, and the close-up lens lets me fill the frame with these wonderful pieces. The exception to this is when I’m trying to provide some context, so I’ll shoot with a wider lens so you can see what’s going on.
4. Use available, natural light. Get a light box.
I’ll sometimes use my video (hot) lights to fill, but I rarely use my flash. I have a couple of portable reflectors that I’ll use to bounce light. I’m fortunate to be shooting Eileen’s chocolates in our home, and I have a few options in terms of light. A lot of what you see on the website was shot in late afternoon in our front room.
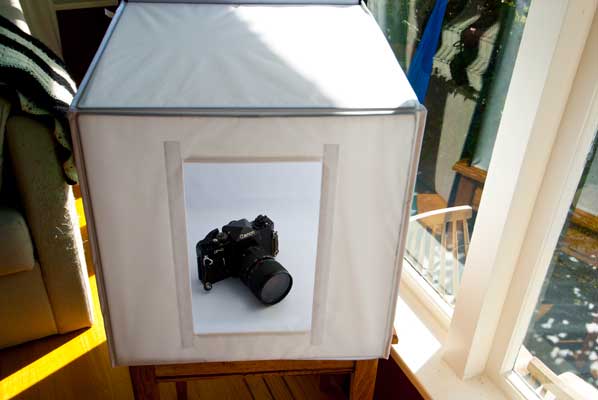
I do use a light box (photo box) – I have a small one that’s about 20 inches square and a larger one that’s about 30 inches square. They’re inexpensive, portable and fast to set up and give me a lot of options in terms of look and light. Things do warm up in there though, so you have to plan ahead and work fast.
Sometimes there’s no daylight left, and I will usually use my video lighting kit. I love using a Rifa, they’re fast to set up, and they diffuse the light just right. They do give off some heat, so working fast is a must. That’s a small Rifa in the photo at the beginning of this post.
5. Wear cotton gloves.
Those lovely bon bons show even the slightest trace of handling. I wear cotton gloves, and still find it a challenge to keep from marking them. Handle as little as possible. I use chop sticks or the non-working-end of a paintbrush to gently slide them around on the plate.
6. A turn table is a good friend.
Another option is not to touch the chocolates once you’ve got them on a plate. You can move your tripod around, or use a turntable. I found a really solid one for $20 in my local kitchen supply store. It’s the kind of thing my aunt had in the middle of her kitchen table, piled high with condiments. The turntable lets me shoot chocolate pieces from every angle, without having to touch them, or move my tripod.
7. Retouching and colour correction are unavoidable.
I’d like to think you can get a great shot without, but given that I often shoot over 2 or 3 days in all kinds of conditions, retouching and colour correction are a fact of life.
Which leads me to..
8. Shoot RAW format.
My colour correction and retouching involves two quite different stages.
The first of these is manipulating the data from the digital camera. I shoot all my photos in RAW image format. There is no single RAW format – each camera manufacturer has their own. It’s essentially the data the camera captures – the digital information – that is then processed to create an image.
Your digital camera actually does this processing for you, then saves it in an image format, typically a .jpg file. But higher end cameras usually allow you to save the RAW data so that you can control the processing yourself, via software. For me, this is akin to developing the negative and taking it into the darkroom. By shooting in RAW format, I can control many aspects of the finished photograph, even after I’ve shot it.
I shoot with Nikon cameras, but I use 3rd party software (namely DxO Optics Pro) to process my RAW files. But if you want to try this yourself – first see if you can save your images in RAW format, then check the software that came with your camera. In most cases, the manufacturer will have provided some software to manage those RAW files. This gives a chance to see how much magic you can create in your own digital darkroom.
The next stage is…
9. Get to know PhotoShop, really, really well.
Photoshop lets me fix all manor of errors, both mine and on the chocolate. I’m not a big proponent of using PhotoShop to rearrange and change the image. I do however, use it to fix blemishes, disappear crumbs and generally clean up the shot. I also will apply some filtering to help bring the photo to life. I like Tiffen’s filter package for PhotoShop, but there are lots of others. This combination – PhotoShop and shooting RAW, is very close to the darkroom experience. The big difference is it’s all done on a computer – and – if I make a mistake – I can start over.
And finally. Probably the best advice…
10. Have fun.
OMG. These are chocolates. the whole experience is luscious and lovely. Have a blast – try things – and in the end – you get to eat the models !
I’d be happy to answer any questions you have or add your tips and tricks – just add them to the comments section below.
-Robert
PS:
If you’re curious about food photography, here are a few links that you might find helpful:
A conversation on flickr, the photo sharing site, about shooting chocolate.
An author’s blog post about the experience of shooting her own food.
A few good tips here on Food photography
Tip #11 – don’t eat the models
And this just made me laugh – the vagaries of Google. Ages ago I was searching for tips on shooting chocolate and ended up here.


