I first heard about caramelized white chocolate Last January, when I had the good fortune to attend the Ecole Chocolate Graduate Luncheon in San Francisco. There, we were treated to samples of fabulous chocolates and bonbons, one of which was made with Valrhona’s “blonde chocolate”, Dulcey .
According to the company’s executive chef and director, Frederic Bau, Dulcey was created by mistake, after he left white chocolate in a bain marie. After 10 hours, he discovered that it had turned blonde and smelled of shortbread, caramelized milk and unrefined sugar.
I am not sure when this happy accident occured, as caramelized white chocolate has been around for a few years now, in one form or another. But I believe Valrhona is the first chocolate company to commercially produce a couverture. and the recipe has taken eight years to develop. After tasting it in San Francisco, I think it was worth the wait.
I, unlike a lot of my chocolate loving friends, do like white chocolate (had a white chocolate buttercream icing on our wedding cake – that dates me, doesn’t it?), especially Shawn Askinosie’s white chocolate nibble bar.
Made with non-deodorized cocoa butter, giving it a darker colour than most white chocolates, and a hint of goat’s milk powder, it is not caramelized, but it does have a tangy and full bodied brown sugar/butter taste, a very different texture to Dulcey, but equally delicious.
Now, craving that shortbread biscuit taste, and with some clear instructions on how to caramelize chocolate at home, courtesy of the fabulous David Lebovitz (who learned how to do it at the Valrhona school).
I am going to attempt to caramelize some white chocolate in my cleaned-for-the-purpose oven. I had to wait for a day warm enough to keep every door and window open, and no family at home to breathe in the smell of incinerating old food for four hours … it gets that dirty between cleanings.
As spring has finally arrived, with the air smelling sweetly of lilac, I am ready to begin.
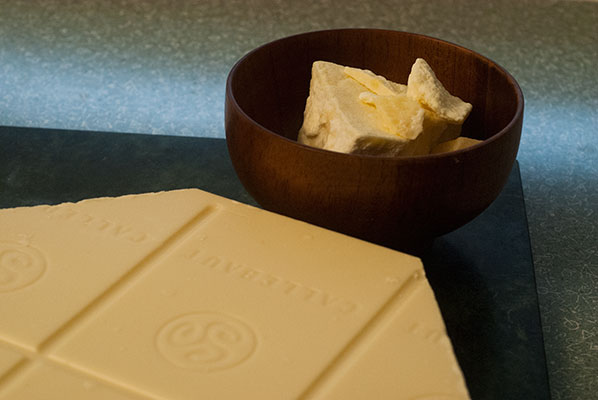
- I chop up 350 grams of Callebaut white chocolate couverture, from a 5 kg block
- It is just under 30% cocoa butter, and every recipe I’ve read suggests using a couverture of at least 32%, to ensure a good “meltiness”. The lower cocoa butter chocolate makes for a chalky, hard to stir mixture. This can be mitigated by adding cocoa butter or unflavoured vegetable oil to the chocolate to increase its viscosity
- As I am do not want to go out and purchase more white chocolate and have cocoa butter on hand, to my chopped white chocolate I add small lumps from the bottom of the bag of cocoa butter, which easily made up the 2 Tablespoons suggested
- I got out a rimmed baking sheet, gave it a good scour to make sure it was absolutely free from crumbs or baked on bits. David uses a non-stick finish pan, but I really don’t like them, so am using my old faithful stainless steel one. The pan size is not specific – it needs to be big enough to hold the melting mixture, without it flowing over the edges, but the chocolate doesn’t spread as much as you might think.
- I spread the chocolate and cocoa butter evenly over the pan surface and popped it into the pre-heated 250 degree Fahrenheit oven. I did not use my convection setting, as I wasn’t sure how this would affect the timing.
As David says, this is really about technique, not a recipe to be followed to the letter. I would second that and add that since there can be huge variances in oven temperatures and quality of baking sheet (which may have hot spots of its own), the timing is going to vary, every time you attempt this.
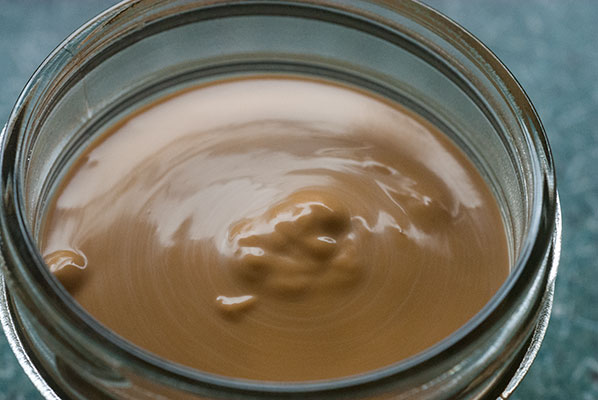
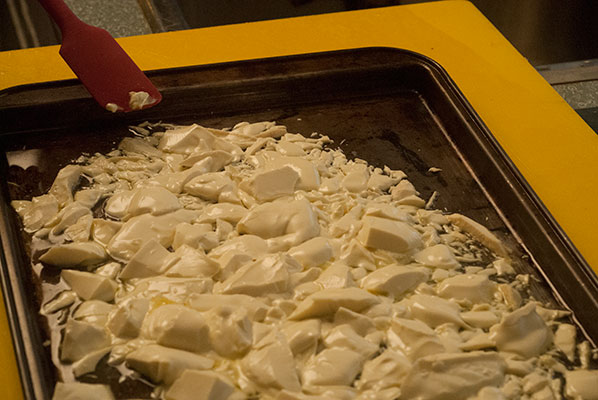
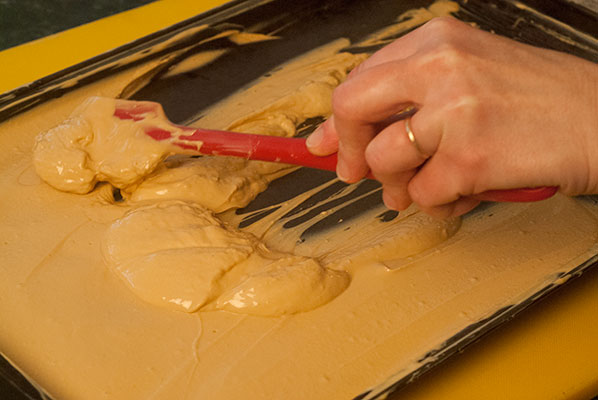
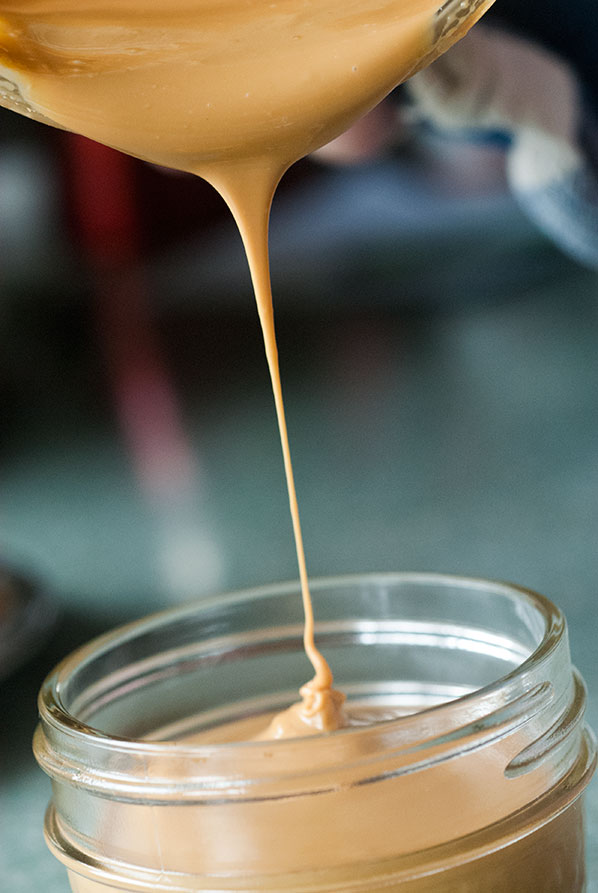
- I took the chocolate out every ten minutes. As you can see from the pictures, it goes from chalk white to the colour of peanut butter as it caramelizes.
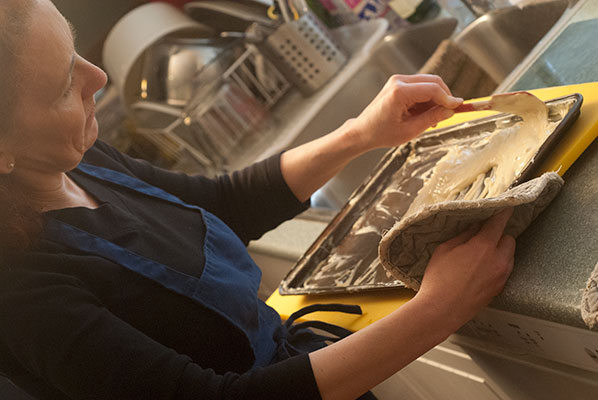
- Interestingly, the chocolate will look hardened and solid until you start to stir it, when it will break up and liquefy. I found that any lumps could be gently knocked out with the side of my spatula, and hardened bits from the corners worked in to the mass.
- As cooking went one, the mass became much more homogenous, so don’t worry if it looks awful to begin with – it is like making ganache – keeps stirring and it will all come together.
Make sure you have a couple of hours in which you know your oven will not be needed, and get some work done which doesn’t require your undivided attention, as you have to pull the chocolate out of the oven and stir it every ten minutes.
It could be a fun activity for a whole family if everyone took a turn, kind of like the traditional Stir Up Sunday, where everyone takes a turn stirring the Christmas pudding and making a wish.
This took a very long time in my oven to achieve the desired colour, at well over 90 minutes instead of the suggested 60. My kitchen however, smelled fabulous for hours afterward.
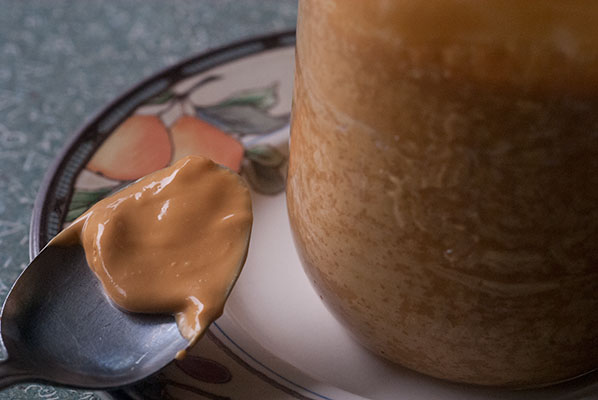
When the desired colour was reached, I poured the liquid chocolate into sterilized Mason jars. As the chocolate is un-tempered, it will solidify at room temperature, but will also “bloom” – some of the cocoa butter separating out and leaving white lines through the mixture. These will disappear as soon as the chocolate is re-heated, as it will have to be to get it out of the jar.
And the taste? Right out of the jar, on a spoon, it is lovely. Warm shortbread biscuit flavour, buttery smooth, with darker caramel taste – a little bit like brown sugar streusel topping – oh, I like this.
There are so many different ways to use this stuff, I think I will keep a jar of it on hand, like ridiculously rich jam.
Here are a few of the things we “had a go” with:
Caramelized White Hot Chocolate:
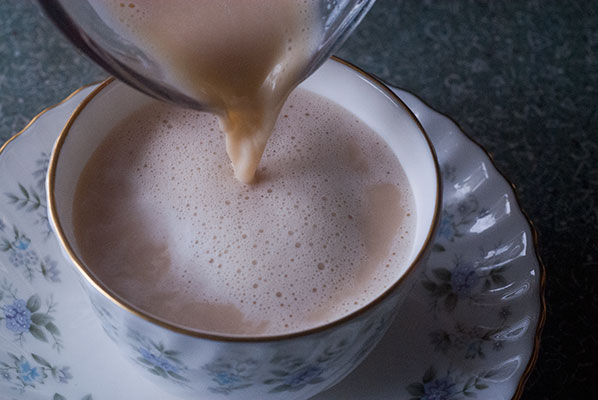
While the caramelized chocolate was still warm and liquid, I heated up 175 ml (6 ounces) of milk. I used 1%bf, because the chocolate is so rich. When it was steaming, I drizzled in a generous dollop of the caramelized chocolate and whisked until well incorporated and foamy on top, and a delicate tan colour.
Upon tasting:
“Oh my goodness, it’s like drinking a shortbread biscuit – but in a good way”
“A real wintertime drink, perfect after snow shoeing or skiing”
“A thermos full of this – oh so good”
“heating it up definitely makes it sweeter”
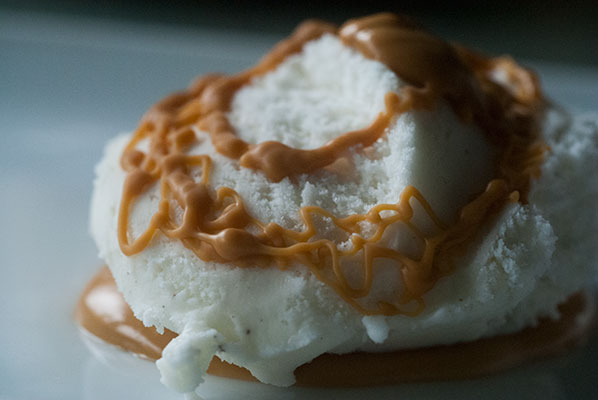
Over Vanilla Ice Cream:
“Delicious, hardens right away in threads”
“Would be fabulous with another scoop covered in hot fudge sauce”
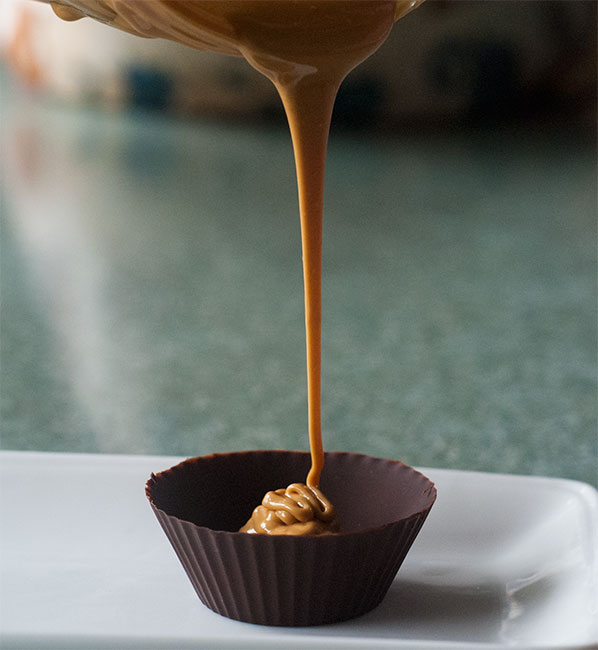
Lining a dark chocolate Dessert Cup:
Looked pretty … and was an absolute failure! The delicate biscuit-y, toasty caramel taste was absolutely overwhelmed by the rich winy taste of the dark chocolate – our only disappointment.
On Toast:
Just … try it. Especially yummy on dense, grainary bread. With a cup of brisk hot tea – oh so good.
Also fantastic on pancakes and waffles.
Next week, I will have a go at tempering this glorious golden stuff. Mmm, my mouth is already anticipating – Bars? Bonbons? Mendiants?
Good thing I made two batches.
